Gladys 3 is now available on Raspberry Pi !
ⓘ Cet article peut avoir été partiellement ou totalement traduit à l'aide d'outils automatiques. Nous nous excusons des erreurs que cela pourrait engendrer.
Today, the Gladys Project is upgrading to version 3 ! This new version of Gladys brings of course a lot of innovations but also several improvements.
Indeed, since the teasing done a few months ago, we haven’t had any news for the 3.0 !
But since a few days, the official Twitter tweets and tease a lot, letting us believe a next release! And that’s what happened!
But before you go any further, do you know what the Gladys project is ?
Gladys, what is it ?
The Gladys project, started in 2014, is somehow a personal assistant, a kind of JARVIS if you prefer, you know, the artificial intelligence of Tony Stark, in Marvel !!
But unlike traditional personal assistants, such as Siri, Ok Google, or Echo from Amazon, Gladys works alone, you don’t have to ask any questions.
Indeed, for the classical personal assistants, users ask something (“What time is it ?”, “what’s the weather like ?”, etc.), the system analyzes the question and then gives an answer. Unfortunately in 2014 voice recognition isn’t, how to say, good enough !
Then the creator of Gladys tried to solve the problem with a different angle: what if the machine solicited the Man, acted for the Man!
Let’s pick an example provided by the creator himself :
« It’s 8 AM. Gladys wakes you up automatically because she knows that you need to be at work at 9 PM, and that according to the traffic, you’ll need 30min to go to work with your car. She knows that you like 30 min to get ready. It’s 8.10 AM, Gladys detects thanks to a motion sensor that you are getting out of bed. She immediately starts the wake-up scenario : she tells the coffee machine to prepare the coffee, and opens the blinds. » @ GladysProject
Therefore, the system is not passive but helps the user daily !
Gladys is a server written in NodeJs. It can be run on Linux, Mac or Windows. Moreover, the creator advise us to install Gladys on Raspberry Pi, like that Gladys can be run every time (h24) without consuming too many electricity !

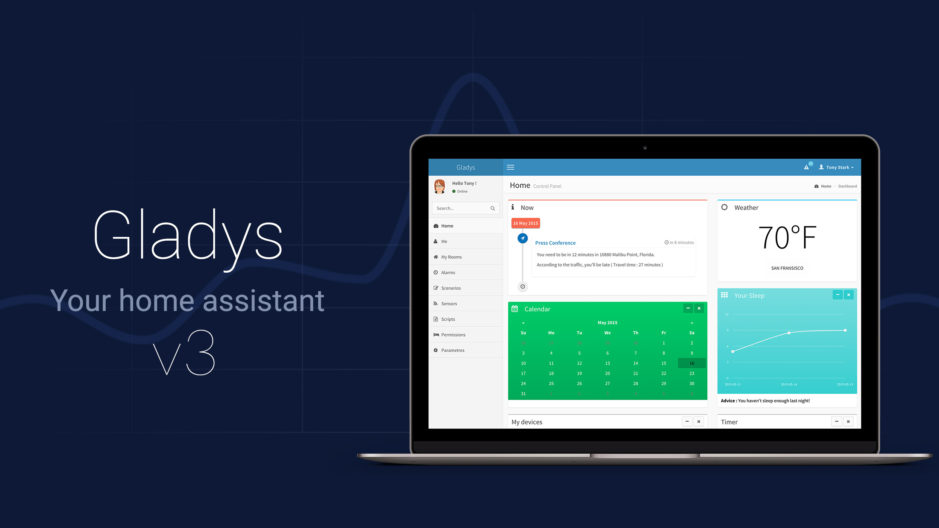
Gladys home page on Raspberry Pi
Hey, Gladys What’s up ?
Now you know Gladys, so let’s see what bring the new update 3.
The update is around three major new developments axes which are the unification of the peripheral section, the sending messages to Gladys, and a simplification of the updater as well as the installation. Of course, there are plenty of other novelties, but it’s up to you to find them 😉
Gladys v3 rebuild the peripheral section. Indeed, the devices (connected bulb, connected plug, motion detector) are now in a single dashboard and can be controlled by a single API. Thus, Gladys is now capable of directing any device, it is up to the modules to manage the “compatibility” aspect. All this for one objective, to lighten the heart of the system.
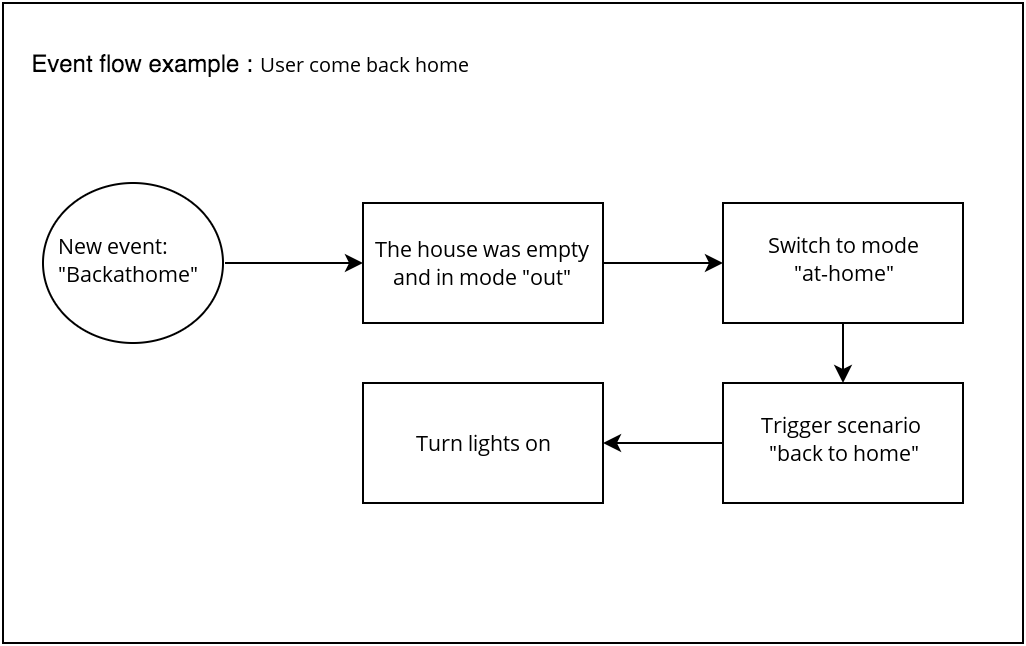
Example of triggering a scenario
With the new version , you can talk with Gladys, and precisely send it messages to give it informations (“I’m coming home”, “turn on the light” etc). The possibilities are simply endless! This new functionality was achieved thanks to the contribution of the community, which among other things provided a lot of questions for development. The questions proposed made Machine Learning possible. Thus Gladys is now able to classify questions asked in order to provide a relevant answer.
Finally, with the new Gladys, the installation and the updater have been simplified. During the installation, it was necessary to use the command npm, which was in charge to download Gladys, and to compile all the dependencies, it takes some time to a Raspberry Pi! The solution has been introduced, an archive with Gladys into Raspbian OS will now be provided. Afterwards, Gladys will check if there is an update available, if you accept the upgrade, Gladys will download the new version on your Raspberry Pi, unzip the update, and install it!
As you can see, the v3 redefined Gladys bases to make the machine more stable and more efficient !
how to install Gladys on Raspberry Pi
Equipment needed for Gladys
If you want that Gladys run in the best conditions, we advise you to choice the Raspberry Pi 3B (which you can find here on amazon), nevertheless, the assistant is available on all the Pi existent. You will also need a power supply and a micro SD card of at least 8GB (here again, you can found both of them on Amazon, on this page for the power supply, and right here for the SD card). To lighten the load CPU of the Raspberry Pi, it’s best to couple the system with an Arduino. The Raspberry Pi is limited for “real time” math which causes a saturation of the CPU. Therefore the Arduino will respond perfectly to tasks like waiting for a radio signal. In addition, it connects easily to the Raspberry Pi via the USB port. An arduino device can be find on Amazon for a few dollar.
To complete the installation, you can purchase accessories (or peripherals) compatible with Gladys. Devices such as bulbs, connected sockets, motion detectors, etc. You can view compatible devices on the official website or ask on the official forum.
How to install Gladys on a SD Cards
To install this new version of Gladys, you must first download the image.
Once the image downloaded, you will have to install Gladys on the SD memory card. This is just like a typical Raspbian installation, so we advise you to visit our articles, how to create an SD card on Windows or on Linux.
When the card is ready to use, insert it into your Raspberry Pi, boot, then extend the partition so that the entire SD card is used (you don’t know how to do that ? The solution is here).
Gladys will automatically launch on the Raspberry Pi boot. To connect to the Pi, you will need to use the classic Raspberry passwords, ie pi:raspberry, and to connect to MySQL, it’s by default root: root.
To access to Gladys, it’s very simple. Go to the following address or on the Raspberry Pi IP.
http://gladys.local
http://192.168.1.22
You should get to the Gladys interface.
You now have to create an account.


