Raspberry Pi, how to boot from a USB key or an external hard drive.
ⓘ Cet article peut avoir été partiellement ou totalement traduit à l'aide d'outils automatiques. Nous nous excusons des erreurs que cela pourrait engendrer.
Please note, the Raspberry Pi 4 does not yet support USB booting. The function should be added soon.
As you know, the Raspberry Pi uses a micro SD card instead of a hard drive. It's handy in terms of size and price, but SD cards end up getting damaged by multiple read and write operations.
To limit wear and tear on your SD card, a simple solution is to configure your Raspberry Pi to boot from a USB storage device, whether it is a key or a hard drive.
In this tutorial, we will therefore see in a few minutes how to boot your Raspberry Pi on a USB key or an external hard drive.
The necessary material
To perform this operation, you will need the following equipment (click on a link to see its price at Amazon):
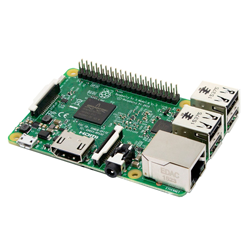
- A Raspberry Pi
- His diet
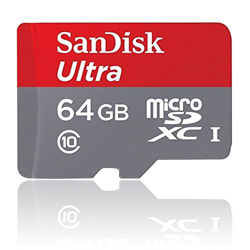
- A micro SD card (yes you still need one)
- And obviously a usb key or a hard disk (if possible connected to the sector to ensure an optimal power supply)
Allow the Raspberry Pi to boot from a USB key
Now that you have all the necessary hardware, you will need to start by installing Raspbian on your SD card. For this, we refer you to our article to install Raspbian from Windows, or from Linux.
Raspbian installed on your microSD card, repeat the operation, this time installing Raspbian on your USB key / hard drive. When finished, unplug the USB key / hard drive.
Once the two installations are complete, connect the SD card to your PC and go to the partition boot from the map (the only one accessible from Windows, normally) to edit the file config.txt and add the following line at the end of the file:
program_usb_boot_mode=1
Save the file, then insert the micro SD card into your Raspberry Pi and start it (insert only the SD card, not the USB key / hard drive). Normally once started, the Raspberry Pi will automatically configure itself to start on the USB key in the future.
To check that everything is good, you can look at register 17 of the OPT (programmable One-Time which designates the read only memory which can only be programmed once). For that we use the following command:
vcgencmd otp_dump | grep 17
The Raspberry Pi must return to us: 17: 3020000a. If this is not the case, it is because you have performed a previous step incorrectly and you must start the creation of the map again.
You can now turn off your Raspberry Pi, take out your micro SD card and insert your USB key / hard drive with Raspbian installed.
All you have to do is plug in your Raspberry Pi, the startup will take a few seconds, and that's it, your Raspberry Pi will boot from your USB key!

