Create a NAS with your Raspberry Pi and Samba
ⓘ Cet article peut avoir été partiellement ou totalement traduit à l'aide d'outils automatiques. Nous nous excusons des erreurs que cela pourrait engendrer.
One of the frequent uses of the Raspberry Pi is the creation of a local multimedia storage system, often called NAS (Network Attached Storage).
Today, we will explain how to create a NAS on your Raspberry Pi using SAMBA software.
To summarize, the article will show you how to create a hard drive on the local network with the Raspberry Pi and Samba, on which all multimedia devices (computer, TV …) can access without having to be connected to it.
Prerequisites for installing a NAS
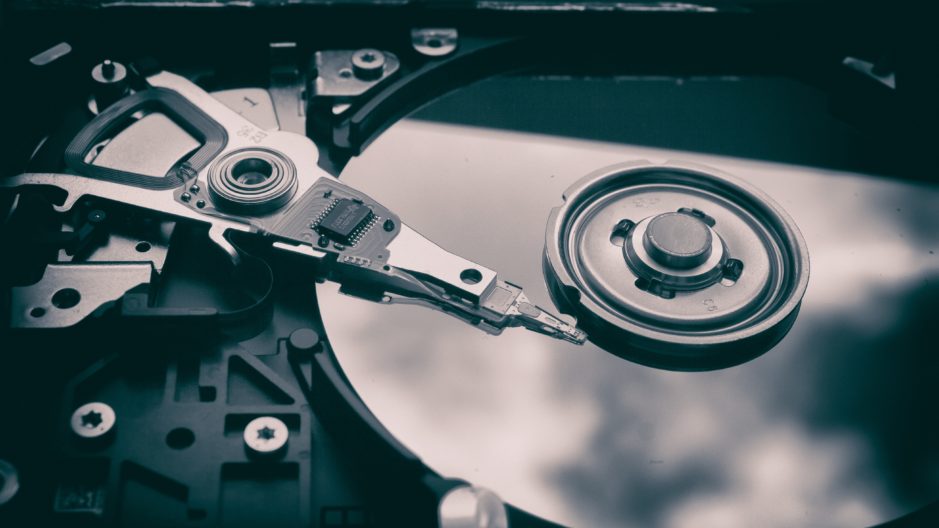
Above all, it is important to present the necessary material for this realization. You will obviously need a Raspberry Pi , (an ethernet cable or wifi dongle if it is older than the third model), a power supply , an SD card with raspbian installed and finally one or more hard drives that will be accessible via the network. Preferably take hard drives powered through a power outlet to relieve the energy consumption of the Raspberry Pi.
Configuration of the Raspberry Pi
Once you have all the necessary equipment, the Raspberry is running and you are connected in SSH , you can start by updating your Raspberry Pi
sudo apt update
sudo apt upgrade
Once the updates are complete, we will create the public and private folders that will be accessible on the NAS.
sudo mkdir /home/shares
sudo mkdir /home/shares/public
sudo chown -R root:users /home/shares/public
sudo chmod -R ug=rwx,o=rx /home/shares/public
Creating the NAS server with Samba
The basic configuration of the Raspberry Pi being done, we will now be able to install the NAS itself. For this we will use Samba, a software capable of managing the networking of a hard drive to access from any operating system or computer connected to the network.
So we will start by installing Samba on the Raspberry Pi with the following command:
sudo apt install samba samba-common-bin
After that, we will edit the configuration file.
sudo nano /etc/samba/smb.conf
If you want to limit connections to your NAS by requesting authentication, go to the line
##### Authentication #####
and add the following line just below
security = user
In order to manage the private storage spaces, go now in the game [homes]. If you want to be able to write (send files) to your NAS, make sure that the file contains the following line:
read only = no
Finally, at the bottom of the file, we will add parameters related to access to the public part of the NAS:
[public]
  comment = public storage
  path = /home/shares/public
  valid users = @users
  force group = users
  create mask = 0660
  directory mask = 0771
  read only = no
Close the file by saving it and restart samba
sudo /etc/init.d/smbd restart
Now we will add a user to samba. In our example we will add the user pi.
sudo smbpasswd -a pi
Add a multimedia device
If you want to add a USB key or a hard drive to have more storage, it is obviously possible. To simplify things if you want to connect multiple devices, it is best to connect/configure devices one by one.
Start by connecting your device to your Raspberry Pi. The first thing to do after that is to detect what is the name that the Raspberry has associated with it. To do this, execute the command
dmesg
Generally, the name of the media is sda1 but this can change especially if you have several devices connected.
Be careful, your device must be formatted with a Linux file system, like ext3 or ext4. If it does not, you can format it by using the following command (replacing sda1 with the name of your device if it is different).
umount /dev/sda1
sudo mkfs.ext4 /dev/sda1
Then create a directory where the device will be mounted for access via the NAS and add read and write rights.
sudo mkdir /home/shares/public/disk1
sudo chown -R root:users /home/shares/public/disk1
sudo chmod -R ug=rwx,o=rx /home/shares/public/disk1
The name of the folder (disk1 in the example) does not matter, put the one you want to be able to find it easily on the network. Once done, mount the device in this folder.
sudo mount /dev/sda1 /home/shares/public/disk1
Mount the devices when starting the Raspberry Pi
At this stage of the installation, there is indeed a problem. When restarting the Raspberry Pi, peripherals do not necessarily mount. To correct this, edit the fstab file.
sudo nano /etc/fstab
and for each device, add at the bottom of the file the following line (being careful not to be mistaken about the name of the device and the directory in which it must be mounted)
/dev/sda1 /home/shares/public/disk1 auto noatime,nofail 0 0
Connect to the NAS server
Our NAS is now configured so I just have to explain how to connect to it. I will not do it for all operating systems, it’s pretty similar for everyone. Know that for smartphones, you can connect with an app like File Expert for Android or File Explorer on IOS.
To log in from Windows, go to the This PC window, click the Computer tab, and then click Map network drive .
The drive letter does not matter, but you need to know where the Raspberry Pi is on the network. either by name or ip address. If you have never changed the name of your Raspberry Pi you should be able to connect to the public directory by filling \\raspberrypi\public or to the private directory with the username (in our example pi) by filling in\\raspberrypi\pi
That’s it, you now have a great NAS with your Raspberry Pi! All you have to do is install a media center on a second Raspberry Pi to have a multimedia system on top!


worked perfectly !
hi,
I saw previous comments and found there is a typo for this command.
sudo chmod -R ug=rwx, o=rx /home/shares/public
until now
the article still not be corrected yet.
Could you please help to correct it ? thanks.
“sudo chmod -R ug=rwx,o=rx /home/shares/public”
Sorry, we was having corrected the tutorial in french and forgot english version. Thanks for the reminder.
I am able to access the storage device however I ‘do not have permission’ to add a folder or change anything within the device.
What can I do to resolve this issue?
You probably have to change rights and/or owners of the directory with
chmodandchown.It seems that for some reason when connected to the NAS through my laptop, the folder is seen as a raspberrypi folder with a maximum capacity of 8.8GB which is the rest of the available space on the SD card even though the hard disk is correctly mounted in that folder.
This is the relevant ouput of `df -h` :
/dev/sda1 932G 94M 932G 1% /mnt/shares/public/mediaplex
Any ideas
Hello,
Thanks a lot for the instructions!
How could we access the storage (with maximum security) from the internet?
Thanks a lot
Apostolos
Hello, i think the simplest way is to use a strong login/password couple in samba conf and enable a DynDNS system to get a URL you could connect to from remote computer.
Hello,
All of your instructions are pretty clears but I got a problem when I’m trying to push a file from my computer to the NAS because it tell me that I doesn’t have enough space even if I still have more than 600Go left.
After checking the remaining space in the folder, it tell me that I only have 6.6Go left which is the remaining space in my raspberry. What can I do ?
Thank you
Hello, you should run
du -hs /*anddf -hto see space left on system and wich directory consume what.Looks like there’s an error here:
`sudo apt samba samba-common-bin`
It should be:
`sudo apt install samba samba-common-bin`
Thanks, we fixed that !
Nice clear instructions
my only sticking point is when I type this:-
sudo chmod -R ug=rwx, o=rx /home/shares/public
I get this
chmod: invalid mode: ‘ug=rwx,’
any ideas?
The “,” seems strange to me, try without
Having a space after the “,” is incorrect.
“sudo chmod -R ug=rwx, o=rx /home/shares/public”
should look like
“sudo chmod -R ug=rwx,o=rx /home/shares/public”
Thanks, we involontary add it during translate process, fixed it.
there is no any space between ug=rwx,o=rx
having the share inside home is bad practice
make a guide for a /media or /mnt share
Well, it’s simple and effective, it’s not exactly a media, neither a mounted device. And it’s not actually in a user home, so it keep things pretty clear.
Actually, if i had to rewrite that, i would probably use /usr/share/samba_dir/ or something like that instead.
But honnestly, all thoses things dont really matter do they ?