Turn off the camera LED for Raspberry Pi.
ⓘ Cet article peut avoir été partiellement ou totalement traduit à l'aide d'outils automatiques. Nous nous excusons des erreurs que cela pourrait engendrer.
What could be more annoying than LEDs? It consumes nothing, it makes light at night and it tends to point out things that we would like to keep discreet.
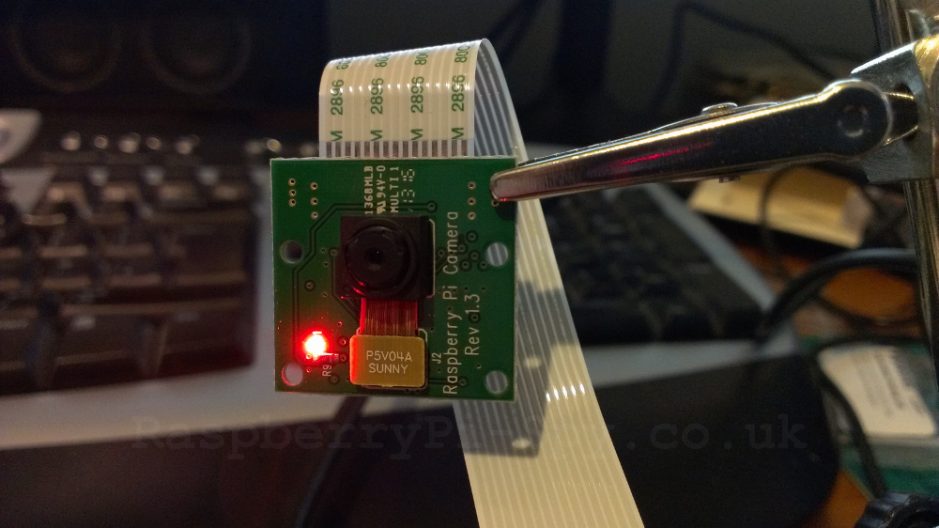
On the Raspberry Pi's camera module, the LED manages to do all of this at once. We will therefore see in this tutorial how to deactivate this LED!
The hardware needed to turn off the LED.
To deactivate the camera, we will only work on the software level. No special equipment is therefore necessary. All you need is:
- Your SD card with Raspbian installed
- A trendy and functional Pi camera.
First step, access the config.txt file
Well aware of the fact that this LED is a handicap in many situations, the foundation planned its deactivation from the start. To deactivate the LED of the camera module, you just need to modify a line in the file /boot/config.txt.
To access this file, two solutions are available to you. Either connect to the Raspberry Pi and open the file /boot/config.txt directly in command lines. Either you connect the SD card directly to your computer, and you edit the file config.txt in the score boot (the only one visible under Windows).
Second and last step, add the line to turn off the LED.
Now that the file config.txt is open, we just have to add the line that will tell the Raspberry Pi not to turn on the LED. To do this, add the following line at the end of the file:
disable_camera_led=1And if you want to re-activate the camera, you just need to replace the 1 by a 0 !
And there you have it, the next time you restart the Raspberry Pi, the camera LED will no longer be lit!


