Build your own PC for less than $200 with the Raspberry Pi !
ⓘ Cet article peut avoir été partiellement ou totalement traduit à l'aide d'outils automatiques. Nous nous excusons des erreurs que cela pourrait engendrer.
If we have written a lot of “how to” about the Raspberry Pi, there is one we have not yet approached. Probably one of the most classic, but also most underestimated usage of the Raspberry Pi, the creation of a cheap desktop computer.
Whether it’s a school that wants to create a computer room, an individual wanting to create a machine for his home, a great parent who wants to discover computers or a budding developer who wants to discover Linux, the reasons for creating a desktop PC with Raspberry Pi are multiple!
Today, we will see together how you can create your own PC under Linux based on the Raspberry Pi, and for a budget of less than $200, screen included!
A PC, but for what kind of use ?
If you’re looking to buy a desktop at a low price, you may have realized that finding a desktop computer at a decent price has become relatively complicated. Indeed, manufacturers often seek to address people who wish to play on their fixed computer, which requires significant resources.
Yet most users do not need such power and simply want to perform traditional tasks, in connection with their work or passions, such as office automation or internet browsing. The PC we are going to see together today is clearly intended for this type of use. No question of playing video games or making heavy graphic processing like 3D modeling.
The desktop we are creating is therefore adapted to the following tasks:
- Conventional office processing (document writing, creation of slideshows, sending of mails, etc.)
- A basic multimedia use (watching / retouching photos, watching movies, browsing the internet)
- Learn programming (web programming or other, see initiation for children with Scratch)
For most users this computer will be very sufficient. If this is too far from what you have planned (you need to edit video, 3D, play games, etc.), then you should look at desktop computer suitable for this type of use.
What hardware to create a desktop PC with Raspberry Pi?
Now that we have precisely defined the tasks that we want to achieve with this PC, we will be able to define the list of hardware that we will need.
In this tutorial, we assume that you want to create a complete desktop PC (with screen, keyboard and mouse), and that you do not already have hardware that you can use. If you already have some equipment, this can help you reduce the budget needed to create your desktop computer.
In order to facilitate the purchase and delivery of the various equipment (and to reduce shipping costs), we advise you to buy all the products from the same seller. You will find for each of the accessories a link pointing to the product on Amazon.
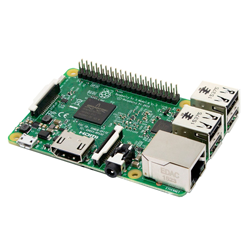
To start, we will logically need a Raspberry Pi, which will be the central unit of our desktop PC. In order to make sure that the PC offers a fluid use experience, we will take the most powerful Raspberry Pi, namely the Raspberry Pi 3 (which also has the advantage of having Wi-Fi and Bluetooth). You can find it about $35 at Amazon, by clicking here.
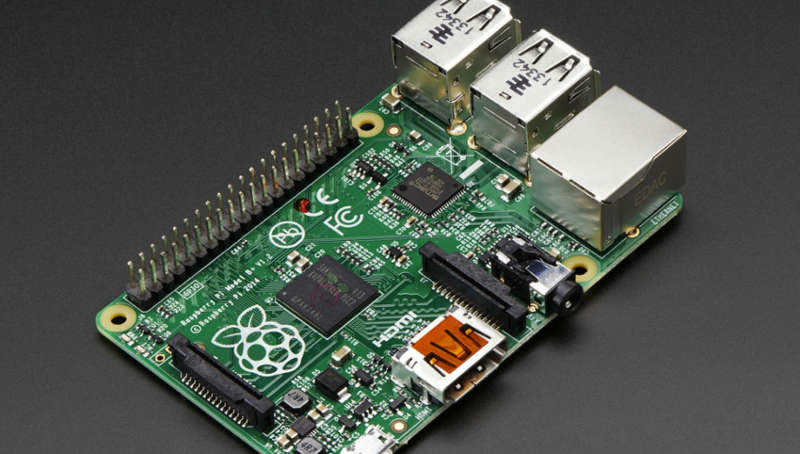
The Raspberry Pi is the central unit of our futur PC.
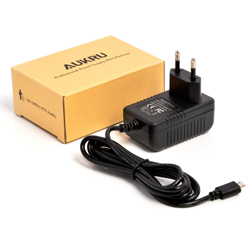
For our Raspberry Pi 3 to work, we will have to plug it into the mains. For this, we will need a suitable power supply. Many power supplies can be found online, but their quality varies greatly.
We recommend using a power supply that provides at least 5V and 3000mA to ensure the proper functioning of not only Raspberry but also its various peripherals. You can find this power supply around $10 at Amazon, by clicking here.
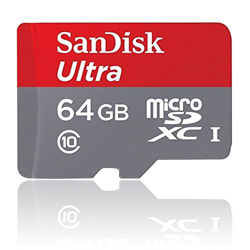
Now that we have our CPU that is powered, we still lack a hard drive. In this case, Raspberry Pi uses a MicroSD card instead of a hard drive. If this choice has a certain number of advantages (ease of replacement, reduced size, etc.), it also involves choosing a card of very good quality, the low-end cards generally having performances and very short lifetimes.
We therefore recommend that you choose an SD 10 class card with at least 64GB of storage. We also have a preference for SanDisk cards, which have always been very satisfying. You can find a card like this for about $25 at Amazon, by clicking here.
The base of our CPU is now established and we just have to add the various components necessary to make the PC fully usable.
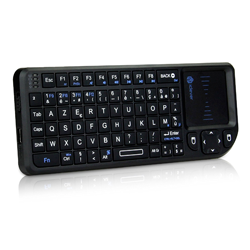
At first, we will have to choose a keyboard. Since we want to create a desktop PC and do not gaming, we will try to reduce the bill and choose a wired keyboard. We will however choose a keyboard with a numeric keypad, which is always more pleasant (especially under Linux). The only imperative : the keyboard must be perfectly compatible with Linux.
Many solutions are possible, but we recommend a Bluestork keyboard in the $5 (best value for money), which you can find at Amazon, by clicking here.
In addition to the keyboard, we will also need a mouse. Again, since we are using this computer for a classical use, we will choose a simple mouse with a good quality/price ratio.
We advise you the wired mouse from Amazon Basics (Amazon brand generally making good products, simple but effective), found on Amazon for just about $8, click here to see it.
Last component of our Raspberry Pi based PC, we are going to need a screen. This is the biggest spending item since the screen alone costs as much as all the rest of the components. You can choose the screen you want, but we recommend that you take a FullHD screen and have an HDMI connection. As for the size, 20 inches seem sufficient, but more can be envisaged.
In any case, count at least between $100 and $120 for a screen, you can find a wide range on Amazon, by clicking here.
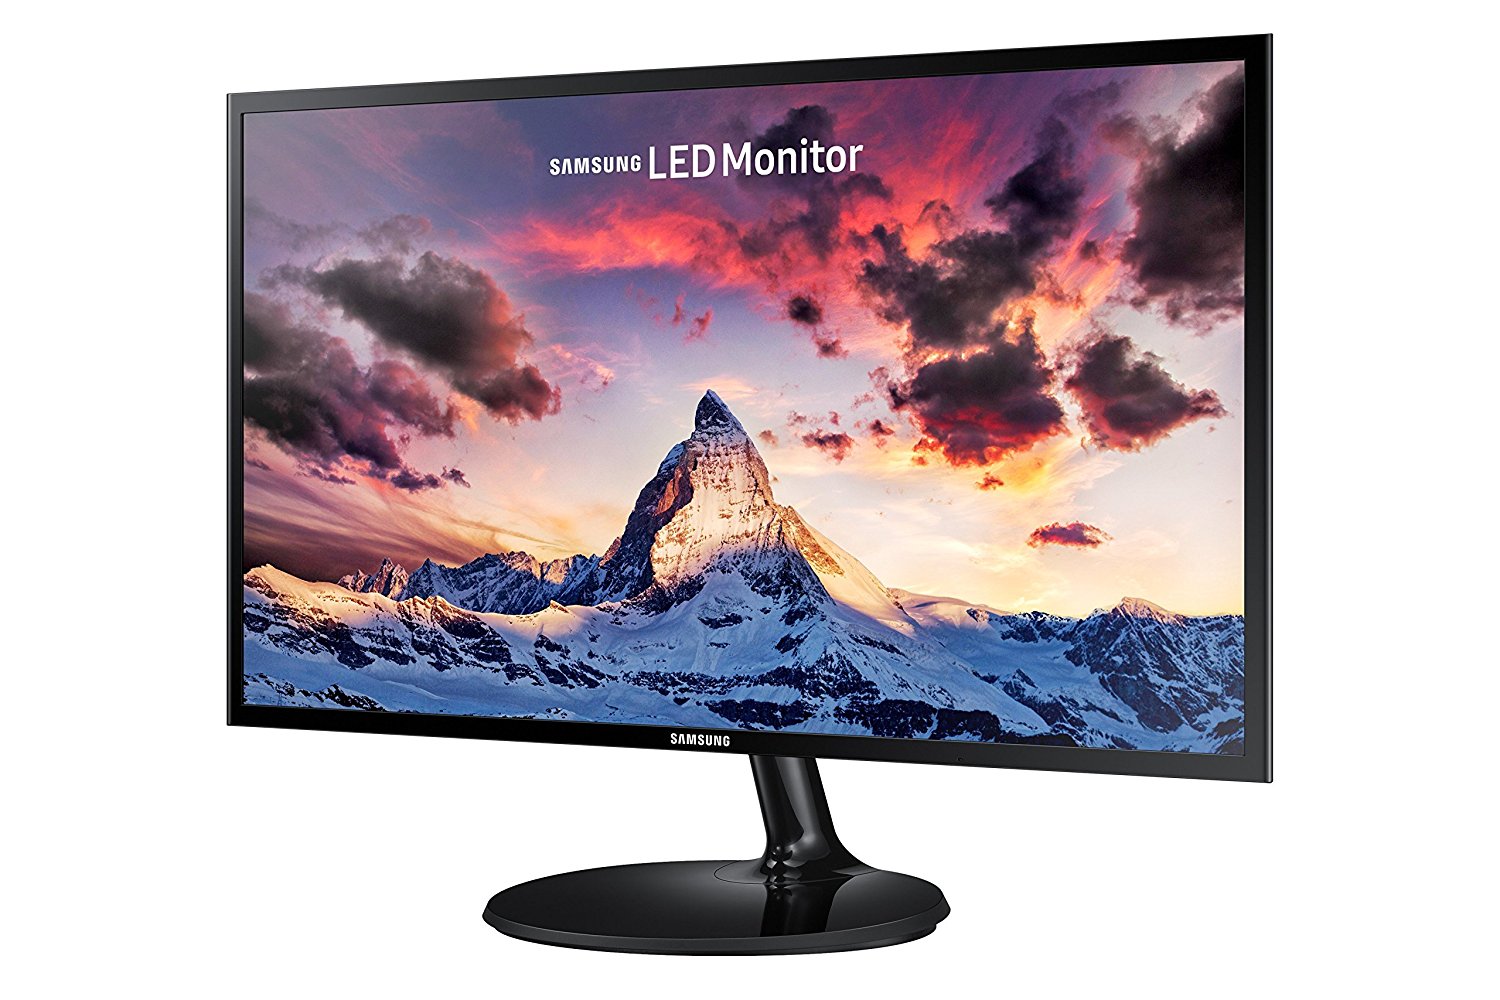
As an example this HDMI screen is around $100.
We now have all the necessary equipment to create our desktop PC, you just have to order them, and move on to the next step, installing the operating system on the SD card.
Choosing the right Operating System for your Linux PC
As you may know, Raspberry Pi can only run Linux OS, but several different distributions can be installed.
As part of a desktop PC, we will choose a distribution offering a graphical interface that is pleasant and simple enough not to lose too much users accustomed to Windows environments. In addition, we will also choose a distribution with a large community, which will ensure we can find many software, as well as help in case of problems.
Following these different points, two distributions hold our attention, Raspbian and Ubuntu Mate.
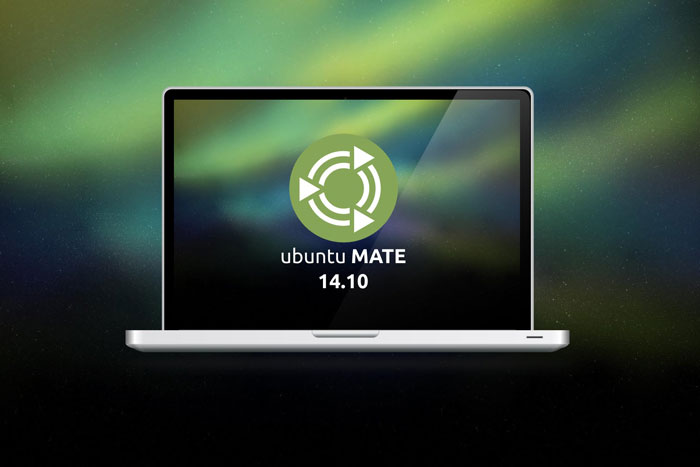
Ubuntu Mate has the advantage of offering a more beautiful interface than Raspbian!
Raspbian has the advantage of having a strong community directly linked to Raspberry Pi (it is the “default” system of the Raspberry Pi), which can easily help you in case of problems. In addition, a large amount of software is available on this platform.
For its part, Ubuntu Mate has a community in direct contact with the Raspberry Pi a little more reduced, but inherits indirectly from the very large community Ubuntu, much wider than the simple community Raspberry. In addition, it has a more pleasant interface than Raspbian, while remaining particularly simple (quite similar to the Apple interface).
As part of an office use, we would tend to favor Ubuntu Mate, but Raspbian is also a possible choice if you already know this system or if you prefer a less pleasant but slightly lighter interface. In both cases, the LibreOffice suite (the free equivalent of Microsoft Office – Word, Excel, Powerpoint – if you are from the Microsoft universe) is installed by default.
So choose the system that best suits your expectations, let’s see how to install it.
If you want to install Raspbian, you will find a complete how to on our site, here if you are using a Windows computer, and here if you are using a Linux computer.
If you prefer installing Ubuntu Mate, you could find the installation procedure on the official download page of the project.
In addition, if you are a little lost to install Ubuntu Mate on your Raspberry, we advise you to watch the video below which will guide you in the installation.
Once your system is installed on the SD card, you only have to insert it into your Raspberry Pi, plug the various peripherals, and turn on your Raspberry Pi!
We hope you enjoy your new computer, and if you need help with different operations, do not hesitate to search Google, watch videos, read others of our tutorials such as how to choose the right hadware for your Raspberry Pi, etc.

