Flash the onboard green LED of the Raspberry Pi.
ⓘ Cet article peut avoir été partiellement ou totalement traduit à l'aide d'outils automatiques. Nous nous excusons des erreurs que cela pourrait engendrer.
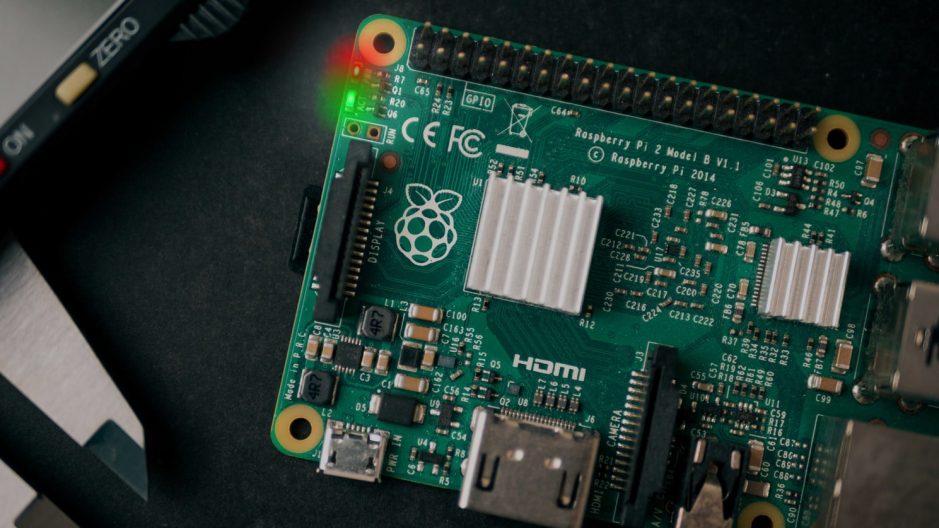
You have probably already seen that the Raspberry Pi has two LEDs directly soldered to the board, one red and one green. But did you know that it is possible to control this green LED, and sometimes even the red one?
In this tutorial, we are going to see how we can use the green LED of the Raspberry Pi by flashing it to transmit a message.
The necessary equipment
The interesting point with this green LED is that it is already on board the Raspberry Pi. Therefore, we will not need any additional hardware. So we just need to:
And like (almost) every time, a way to control the Raspberry Pi, for example in SSH.
What are the onboard LEDs of the Raspberry Pi used for?
Raspberry Pi have two LEDs (except Zero models which only have green), one red and one green. These LEDs are used by the Raspberry Pi to tell us information about its operating status.
Thus, the red LED is directly connected to the power supply of the Raspberry Pi. It therefore allows us to know whether or not our Raspberry Pi is receiving current.
The green LED on the other hand provides us with a little more complex information, mainly at the time of startup.
I'm not going to give you a complete transcription of the Raspberry Pi / Humans dictionary, but be aware that depending on how this LED flashes, you can know if the Raspberry Pi is booting correctly or if it encounters an error, and if so the type of this mistake.
Turning on the green LED of the Raspberry Pi is writing to a file!
Once the Pi is turned on, the green LED stays off as long as there is no activity on the SD card.
It is possible to slightly modify this behavior and control the way the LED lights up ourselves, simply by writing to a file!
First, we will have to modify the default behavior of the LED by writing none in the file /sys/class/leds/led0/trigger with the command below:
sudo sh -c "echo none > /sys/class/leds/led0/trigger"
Once this command is placed, if you open this file you will see that it does not actually contain none as you might expect, but a line where none is ent[]ered to show that this is the selected mode.
The default behavior being overwritten, all we have to do is check the LED ourselves. And for that, nothing could be simpler!
To turn the LED on or off, we just need to write to the file /sys/class/leds/led0/brightness.
If you write 1, the LED lights up, if you write 0, it goes out.
sudo sh -c "echo 1 > /sys/class/leds/led0/brightness" #allume la led
sudo sh -c "echo 0 > /sys/class/leds/led0/brightness" #éteins la led
For information, on the most recent models you can manage the red LED in the same way, by replacing led0 by led1.
Controlling the LEDs of the Raspberry Pi, what is it for?
But in the end, turning on or off the LEDs of the Raspberry Pi, what can that be used for?
Already for the red LED, being able to turn it off can allow you to reduce the current used a little (this is negligible, obviously) and to make it more discreet.
But overall, it will above all allow you to give information to a user without having any device connected, no screen, no speaker, nothing!
For example, you want to make an RFID tag badger. One could imagine a color code when adding a new badge. The red LED flashes as long as the badge is waited for, the green LED lights up when the badge is on, the red remains fixed and the green is off when the adding operation ends.
Another example, we could make a script allowing to read the IP address of the Raspberry Pi at startup by reading the number of flashes of the green LED!
Finally, there is a lot of information that we can exchange directly from the Raspberry Pi, without needing to plug anything into it, just using the onboard LEDs!


