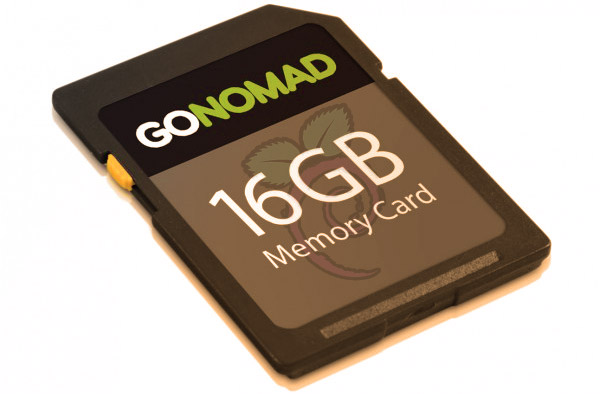
How to create a SD card for your Raspberry Pi using command line on GNU / Linux
ⓘ Cet article peut avoir été partiellement ou totalement traduit à l'aide d'outils automatiques. Nous nous excusons des erreurs que cela pourrait engendrer.
After a first article devoted to the creation of a Raspbian SD card with Windows, here is its open source alternative, how to create Raspbian microSD card using the command line from a Linux system (or, a priori, any other UNIX).
This installation will be done entirely in command lines. So we will not use a graphic tool such as Gparted.
To create the SD card for your Raspberry Pi from the command line, you will need a computer with Linux installed (or another UNIX) and which has a SD card reader. If your computer does not have a built-in SD card reader, you will need an external one. Choose one who can handle both, SD and MicroSD cards, you can easily find it online for a few dollars, like this one on Amazon.
We have already explained in the previous article why to create its own SD card rather than simply using a pre-installed one. Quick summary, the quality of preinstalled memory cards is generally highly questionable.
Which SD card to choose?
The choice of a MicroSD card strongly influences the performance of the Raspberry Pi.
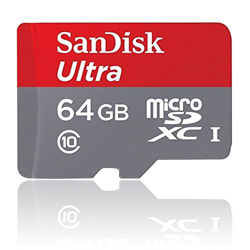
We recommend you to choose an SD card adapted to your needs among the following memory cards made by SanDisk (you will find a link to the product page at Amazon for each of theme). This memory cards are not much more expensive than the cheapest ones, much faster and trully more reliable!
- For a standard installation choose a 16 GB memory card, like this one.
- For an installation with a little multimedia, choose a 32 GB memory card, like this one.
- For an installation with movie storage, choose a 128 GB memory card, like this one.
Why use the command line to create the SD card of his Raspberry Pi?
This time the question is why choose a command line installation rather than a graphical installation.
There are several reasons for this choice.
First of all, we do not always have a graphical interface. On a server for example, you are not going to clutter up an interface that will consume resources for nothing 99% of the time. Similarly, for a live distribution, you may not have an interface to avoid needing too much disk space.
The second reason is that using the command line will allow you to progress, and especially to really understand how the partitioning of your system works. And that, if you use Raspberry regularly, whether it is on a Raspbian with or without interface, this is something that will always be useful to you.
ISO and software required
Caution, some commands in this tutorial require high administration rights. They must therefore be executed by the user root, or with the rights of the user root.
To run a query with root privileges without being root, add sudo before your command. For exemple, the command ls become :
sudo ls
First, to install the OS on the card, you will have to download the latest image of Raspbian. (Caution, you can not use the SD card to store the Raspbian image, or you will have to copy it to the system before working on the card.)
If you do not have a GUI on the machine that you want to install, and you want to download the image from this machine, you can use the command:
wget http://raspberry-pi.fr/download/raspbian_latest.zip
Find the SD card to work on
First, you will insert your card into the drive.
Unlike Windows, most Linux systems does not automatically mount USB keys or SD cards.
In the first place, you will have to find your SD card. To do this, it will be necessary to search in the directory /dev.
A relatively efficient method is to search for the latest modified files. To do this, we use the command:
sudo ls -ltr /dev/*
The name of your card should appear in the latest results. It will probably start with the letters mm.
It is possible that you have several times the same name, with a digit at the end (e.g : mmcblk0, mmcblk0p1). The card to be used for the next command is the one without a number at the end (e.g : mmcblk0), which is the entire card, and not just one of its partitions.
Copy Raspbian to your SD card using command line
To install Raspbian on the card, we will use the command dd, which perform a copy of a file at the binary level:
sudo dd bs=1M if=/path/to/your/raspbian/img of=/dev/your_card_name_without_any_number status=progress conv=fsync
Raspbian’s writing on the SD card can be a bit long and does not show a progress indicator, which can be a little worrying but is actually perfectly normal. You will have to arm yourself with a little patience
Once the terminal has handed you back, you can remove your SD card, Raspbian is installed on it, and you just have to plug it into your Raspberry Pi and start the Raspberry Pi.
Now that you know how to create a Raspberry Pi SD card using command line, all you have to do is seeing how to equip your Raspberry Pi, and learn how to start with Linux.



On macOS 10.14.5 I had to use:
“`
sudo dd bs=1m if=/path/to/your/raspbian/img of=/dev/your_card_name_without_any_number conv=sync
“`