How to overclock the Raspberry Pi 3 (and the Raspberry Pi 2)
ⓘ Cet article peut avoir été partiellement ou totalement traduit à l'aide d'outils automatiques. Nous nous excusons des erreurs que cela pourrait engendrer.
Following many requests from the community to improve the performance of the Raspberry pi 3 we decided to write a tutorial to teach you how to overclock a Raspberry pi 3.
Why overclock a Raspberry Pi 3?
If the Raspberry Pi 3 has greatly improved the power of the processor compared to previous models, it may still be insufficient for some uses.
By overclocking your Raspberry Pi, you will be able to improve its performance even further and allow the processor to reach 1.5 GHz frequencies, compared to only 1.2 GHz by default.
The power thus recovered can for example be useful when it comes to improving the fluidity of games a little too greedy, such as Minecraft, or even when playing videos.
The hardware needed to overclock the Raspberry Pi 3
While the changes to overclark a Raspberry Pi are essentially software, these changes nevertheless have a real impact on the physical level that should be taken into account.
First important point, increase the computing power of the processor leads to a risk of overheating, which could be dangerous for the Raspberry Pi, but also everything around it, since some have been able to measure heat peaks to nearly 100 ° C!
Second point to take into account, increase the computing power of the processor also leads to an increase in its power consumption, which could be problematic if the power supply of the Raspberry Pi is not good enough.
If you want to overclock your Raspberry Pi you will need to equip yourself with two essential accessories:
- A good quality power supply (we recommend a 5v 3A power supply, founded here on Amazon )
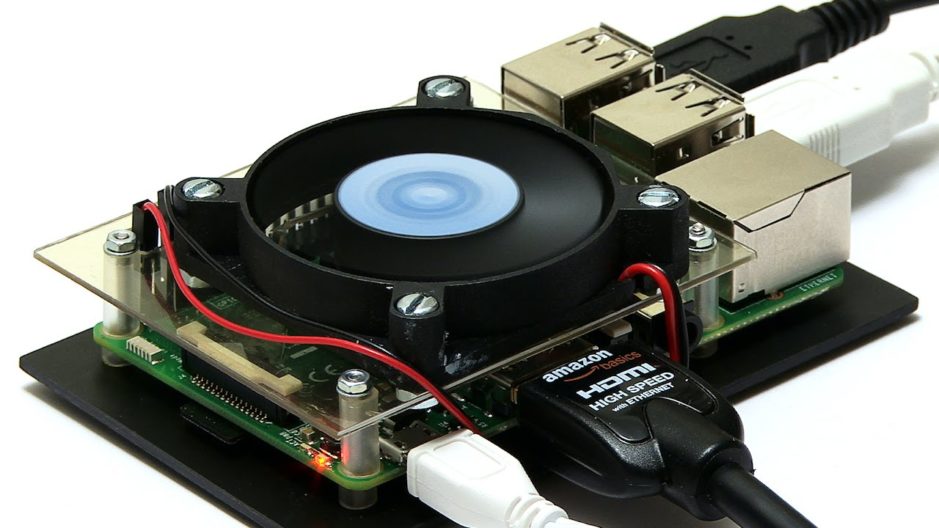
- A cooling system. Many solutions exist, but not all are equal. As overclocking a Raspberry Pi 3 strongly increases its temperature, we advise you to move towards a system implementing both passive cooling (heatsink ), and active cooling (fan). You can find Amazon kits such as this one with suitable boxes and delivered with fans and supporting the addition of heat sinks.
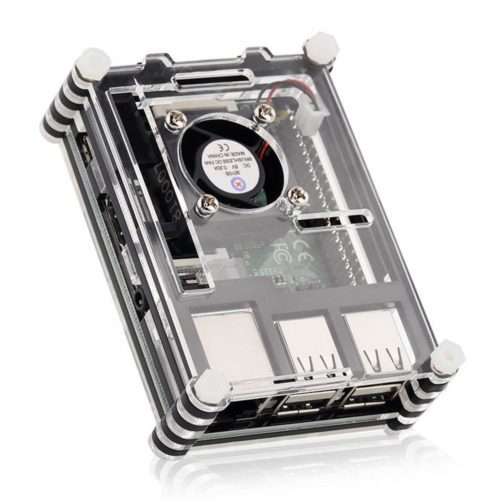
There are cases for the Raspberry Pi specifically designed to use a fan and supporting the addition of heatsinks.
With these few precautions, you should be able to overclock your Raspberry Pi safely.
Modify the configuration file to overclock the Raspberry Pi 3
Now that you have all the material on hand, let’s get down to business!
If it was relatively simple to overclock the previous models of the Raspberry Pi (it was enough to use the command sudo raspi-config), it is now more complicated with the Raspberry Pi 3, and it is now necessary to put the hands in the files of the Raspberry Pi 3 configuration.
To overclock the Raspberry Pi 3, we will modify the file /boot/config.txt, which contains a number of settings loaded at startup of the Raspberry Pi and to determine its behavior, including the use of the processor.
In order to modify this file, you must therefore start a terminal window on your Raspberry Pi, and type the following command:
sudo nano /boot/config.txt
This command will open the file /boot/config.txtwith the text editor nano, and the command sudowill ask the system to perform this action with an administrator account ( /boot/config.txtsince it is very important, only administrator accounts can modify it).
Now that the file is open, you will need to edit it to contain the following lines:
core_freq=500 # GPU Frequency
arm_freq=1300 # CPU Frequency
over_voltage=4 #Electric power sent to CPU / GPU (4 = 1.3V)
disable_splash=1 # Disables the display of the electric alert screen
Note that some lines probably already exist in different versions, in which case modify them, and make sure they are not commented on (ie the line does not start with one #).
Once you have made all the changes, save the file using the shortcut Ctrl+oand exit the file with the shortcut Ctrl+x.
Last step, all you have to do is restart your Raspberry Pi with the command reboot.
Check if overclock is enabled
Once your Raspberry Pi has finished its restart, all you have to do is check that it is overclocked.
To do this, simply run the command lscpu, which provides information on the processor. If you find a value of 1500 for CPU max MHz, congratulations, you just overclocked your Raspberry Pi 3!
Bonus, overclock the Raspberry Pi 2
Small bonus for those who would like to improve the performance of their Raspberry Pi 2, or other older models.
This time, the manipulation is much simpler, since you will be able to use the GUI raspi-config. Proceed as follows:
In a terminal on the Raspberry Pi, issue the command sudo raspi-config
Select the option Overclock, a message informing you about the dangers of overclock appears, makeok
Choose the overclock that suits you (for example 1000MHz). A message informing you of the change appears, makeok
Choose Finish, a message will ask you if you want to restart, do ok.
That’s it, your Raspberry Pi is overclocked.
Be careful, even if the Raspberry Pi 2 is overclocked less than the 3, it still tends to heat and you should take the same precautions as the Raspberry Pi 3.
Conclusion
You now know how to overclock your Raspberry Pi 3, and you just have to enjoy this little boost of power.
However, do not forget that this practice causes the Raspberry Pi to heat up considerably, which can reduce its life. If you want to limit the risk of crash and destruction, equip yourself accordingly!
Also note that you can further configure the CPU usage. You will find all the parameters usable here on the site of the foundation.


