Install a virtual touch keyboard on the Raspberry Pi.
ⓘ Cet article peut avoir été partiellement ou totalement traduit à l'aide d'outils automatiques. Nous nous excusons des erreurs que cela pourrait engendrer.
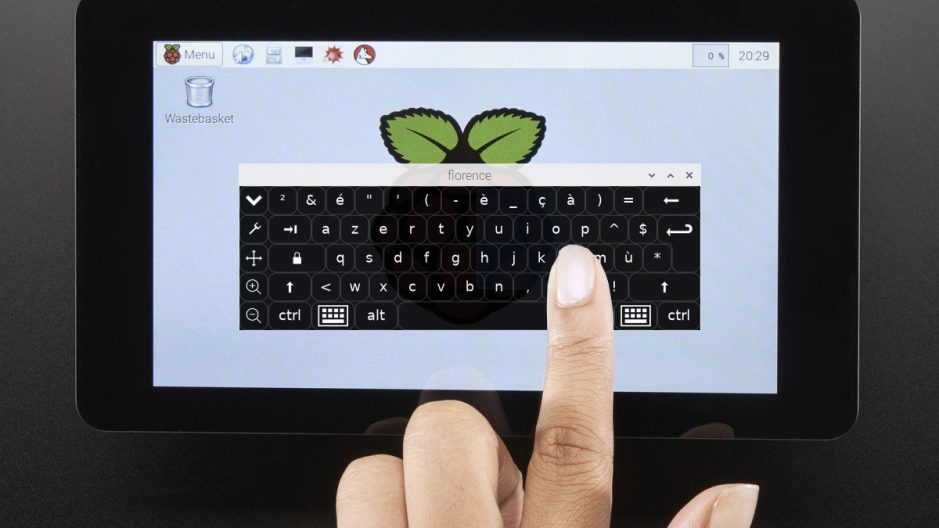
If you are using a touchscreen with your Raspberry Pi, you have probably already faced a problem, the lack of a virtual keyboard!
Although the Raspberry Pi foundation itself offers a touch screen for the Raspberry Pi, Raspbian does not include a virtual keyboard that allows us to type text directly from a touch screen.
Today, we are going to see how to install a virtual keyboard on your Raspberry Pi to write from your screen!
The material needed for this tutorial
In order to complete this tutorial, you will need the following materials:
- A Raspberry Pi (the model does not matter).
- Its charger
- An SD card with Raspbian installed (and SSH enabled if you don't have a keyboard, see our tutorial on SSH)
- A way to type text on your Raspberry Pi (it could be a keyboard, a computer with an SSH client, or even a cell phone with JuiceSSH)
- And of course, a touch screen!
This tutorial was made with the official touchscreen, but unofficial touchscreens will work too!
A virtual keyboard for the Raspberry Pi
There are loads of virtual keyboards under Linux, but we need to find one that is compatible with the Raspberry Pi and if possible available directly in the Raspbian repositories.
After some research, my choice fell on the Florence virtual keyboard, developed by a François Agrech. It's a simple and efficient keyboard, with a shortcut to show or hide it when needed.
Install our touch keyboard on the Raspberry Pi
Installing Florence on the Raspberry Pi is relatively simple, since it is present in the Raspbian repositories. We just need to install it through these repositories with the following commands:
sudo apt update
sudo apt install florence -y
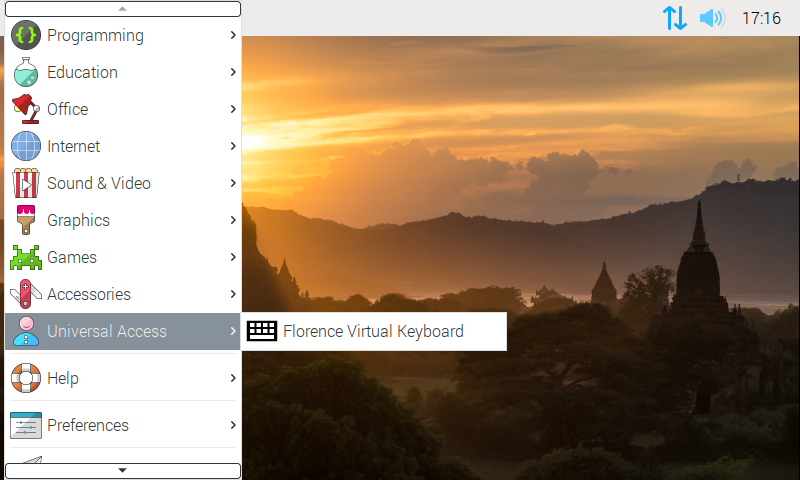
The first command will update the list of Raspbian repositories. The second will install Florence. The virtual keyboard is now available by clicking on the Raspbian menu, and in the "Universal access" sub-category.
The virtual keyboard closes by itself!
If you stop there, you will have a strange bug: when you type on a key on the touch keyboard, it closes … Why is that?
It turns out that in order to communicate with other programs, the touchscreen keyboard needs to use a protocol named D-Bus and a specific package named at-spi2-core.
The packet at-spi2-core is a kind of overlay to D-Bus and used to communicate with screen readers used by people with disabilities. It is therefore used by Florence and necessary for its operation.
So we will have to install at-spi2-core in addition to the virtual keyboard. Again, we just have to go through the deposits!
sudo apt install at-spi2-core -y
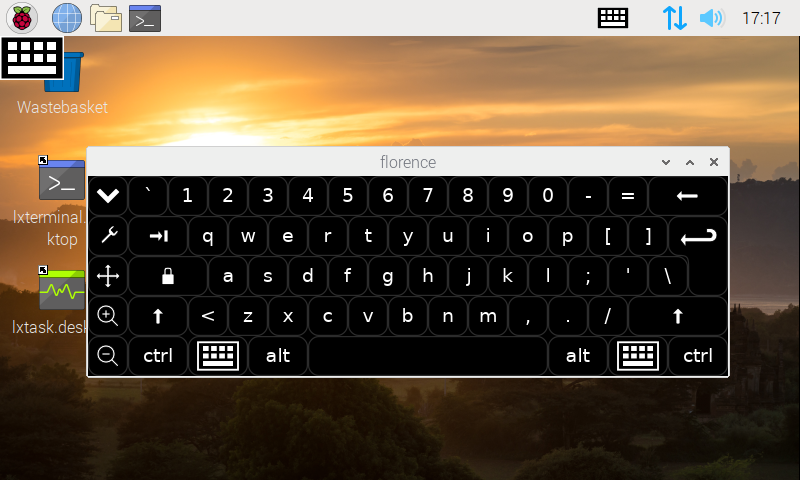
And there you have it, if you relaunch the keyboard, it appears all nice and clean, and if you click on a key it works!
Change the language of the virtual keyboard.
Now that our keyboard is functional, all we have to do is change the language and adapt the keyboard to our liking.
To change the keyboard language, two solutions. Either you use the command setxkbmap, which allows you to set the keyboard language, and you will then need to add it to your file ~/.bashrc so that it is launched at each startup.
Either, and this is the solution which seems to me the cleanest, you use the settings of Raspbian directly.
For the first solution, type the following commands (replace FR with the code for the language you want):
setxkbmap fr
echo "setxkbmap fr" >> ~/.bashrc
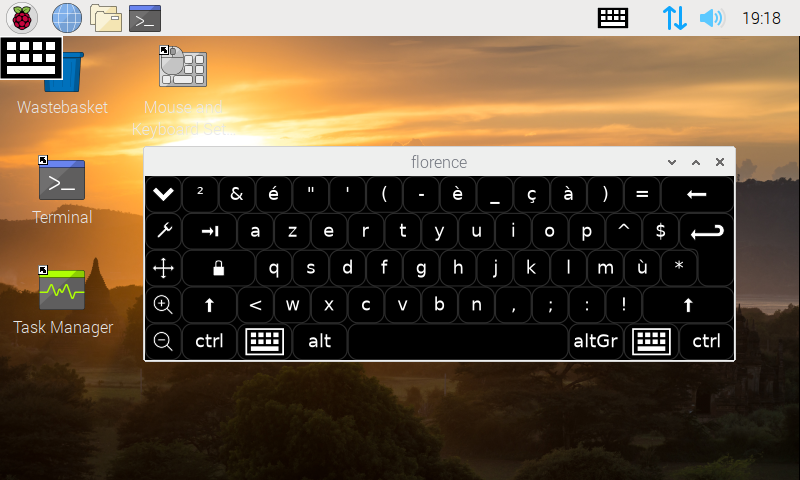
For the second solution, click on the Raspbian menu, go to the "Preferences" part, then "Keyboard and mouse", and in the keyboard part modify the "Keyboard layout" setting to the one of your choice.
You may need to relaunch the virtual keyboard.
Some additional settings
Last point, you can adjust the behavior of the keyboard. For example, force it to always stay in the foreground, add a numeric keypad, or change its appearance!
To do this, you just need to click on the small wrench on the left of the keyboard.
Be careful, however, to leave the pointer behavior setting to "Mouse". If you switch it to "Touchscreen" you will probably get typing errors, doubled letters, etc.
And there you have it, you have a virtual keyboard on your Raspberry Pi that will allow you to write directly from a touch screen!


