Install Shadow on Odroid, how to make a gaming PC with (almost) a Raspberry Pi!
ⓘ Cet article peut avoir été partiellement ou totalement traduit à l'aide d'outils automatiques. Nous nous excusons des erreurs que cela pourrait engendrer.
This article was produced thanks to the material offered by my partner Kubii.fr, official French reseller for Odroid cards. They did not influence the content of this tutorial, but this one could not have existed without the material they gave me, so thank you! If you want to buy an Odroid card, consider them!
You have most likely heard of Shadow, the French startup that wants to "revolutionize" video games by offering to rent a super powerful and always up-to-date PC in the cloud.
In this tutorial I will explain how to install and run Shadow on Odroid, a competitor of the Raspberry Pi in the same price brackets.
Does it really work? Yes !
Before starting this tutorial, I would like to be clear that we are talking about a functional and really usable version of Shadow.
Rather than telling you about it, I prefer to let you judge. Here is a video captured from an Odroid running Shadow and which proves that it is possible to play fortnite on a competitor of the Raspberry Pi.
As you can see, the game is relatively smooth. Here the game runs in 60 FPS 1920 * 1080.
The video is unfortunately made over the phone because the Odroid has trouble capturing the video and running Shadow at the same time.
Now that this point has been cleared up, let's take a look at the material we'll be using.
The necessary equipment to use Shadow on Odroid
Before we move on to installing Android and Shadow, here is the list of things you will need to run Shadow on Odroid.
Click on the link to see prices at online sellers.
- An Odroid XU4Q card
- A 5V 4A power supply
- A MicroSD card (take a good card, the performance of the machine depends on it).
- A keyboard and a mouse
- An HDMI screen
So far I have only been able to test Shadow on the Odroid XU4Q, a card that was offered to me by my partner Kubii.fr, which is the official Odroid reseller for France. In the days to come I will also test on the C1 + and N2 and I will update the article at this time to indicate the card with the best quality / price ratio.
Of course, you will also need a Shadow subscription. Today there is no free test offer for Shadow. On the other hand, there is a subscription at 30 € per month terminable in two clicks for 1 month.
Shadow, what is cloud gaming?
Today, if you want to play a recent game in high quality, you will need to invest in a powerful computer and keep it updated regularly. Count well 1500 € at least.
Shadow is a French startup that offers you to rent one instead. You pay € 30 per month, and you have access to a cloud-hosted computer that's regularly updated so you can run the latest games in high quality.
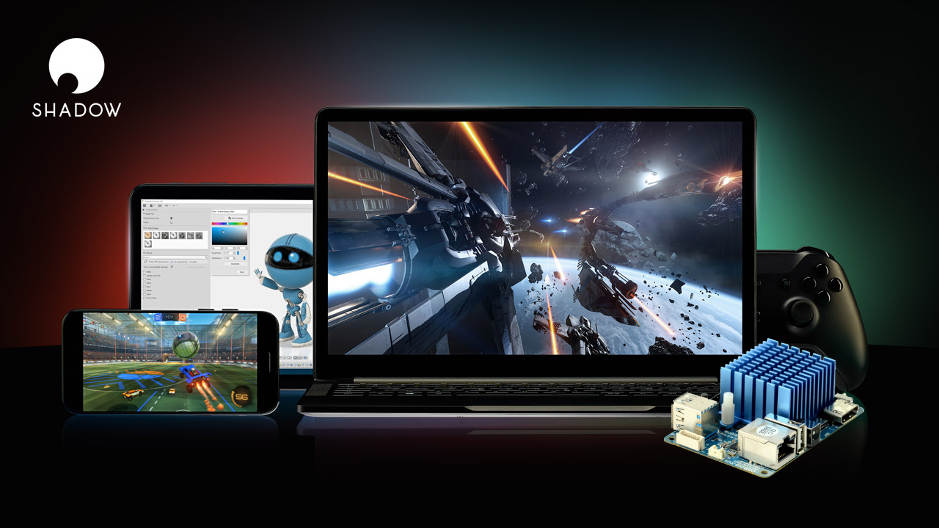
On your side, you can connect to this computer remotely from your phone, your tablet, or your classic computer.
While the financial benefit is important, the counterpart is the need for a rock-solid internet connection. If you don't have the fiber, you don't have to.
If you want to know a little more, I advise you to visit the Shadow site.
Shadow on Raspberry Pi, how can it work?
When I discovered Shadow, only one question popped into my mind: Does it work with a Raspberry Pi?
You should know that Shadow is still a very young offer, its support under Linux is not yet optimal. More precisely, if it runs correctly on Ubuntu in x86 version, it is not available for ARM distributions.
The problem is that the Raspberry Pi is based on an ARM processor, and the distributions that run on it are therefore of the ARM type and not x86. It is possible to install Shadow on Raspbian.
However, there is an operating system that runs on an ARM processor and that allows you to run Shadow. This OS is Android!
The solution was therefore found, install Android on the Raspberry Pi, and install Shadow on this Android. And imagine that it works!
If you follow our tutorial on how to install Android on the Raspberry Pi, you can definitely install Shadow on it and it will work. It is therefore possible to install Shadow on the Raspberry Pi!
So why use Odroid and not a Raspberry Pi?
So yes, Shadow works on the Raspberry Pi, but only up to a point … To fully understand why, we must first understand how Shadow works.
To schematize, we could say that Shadow generates a video stream from the server, which is then sent to the client, that is to say your computer, which will be responsible for displaying it.
As you can imagine, sending 60 images of 1920 by 1080 pixels every second is a huge amount of data (we are talking about at least about 200 MB / s). To solve this problem, we use encoding, a technique for compressing information.
When you receive the video it is therefore encoded and you will have to decode it to be able to display it. This type of work is very demanding in computing power. For this reason, we use what is called hardware acceleration. It is this hardware acceleration that makes you can watch high definition video smoothly.
The problem is that Raspberry Pi support for Android is unofficial and does not allow hardware acceleration. Concretely, this means that Shadow works, but that it jerks, lags and rams. In short, it cannot be used as it is.
This is where the Odroid card comes into play. Unlike the Raspberry Pi, Odroid cards offer official Android support. More precisely, since this is what interests us, they allow the use of hardware acceleration with Android.
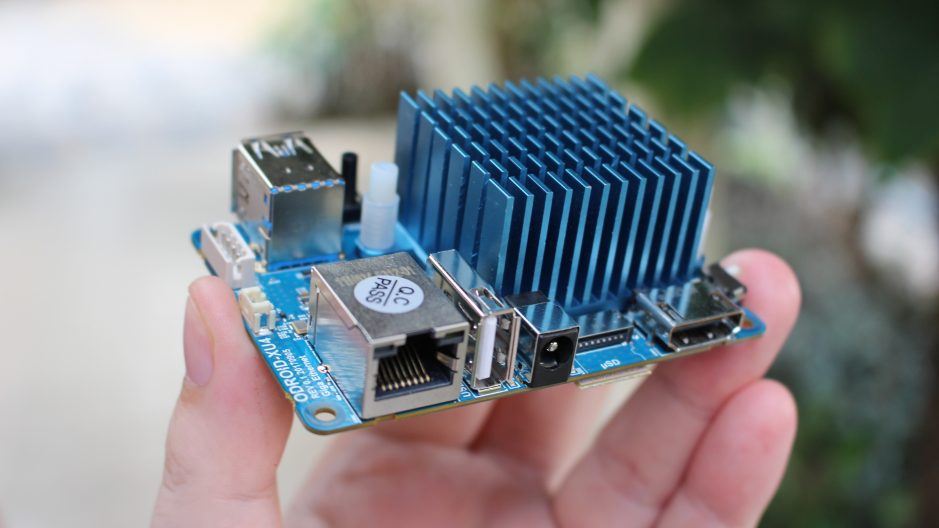
This therefore means that Odroid cards are able to run Shadow relatively smoothly via Android. It is for this reason that we will install Shadow on an Odroid rather than a Raspberry Pi.
There are many models of cards at Odroid, with very different characteristics and prices, so we are going to see together the necessary equipment to run Shadow on Odroid.
Install Shadow on the droid XU4Q
Now that we understand how Shadow can work on Odroid and have seen the necessary hardware, all we have to do is install it!
For this, we will start by installing Android on the MicroSD card.
Download and install the Android image
To install Android on our XU4Q we must find a compatible image that is newer than Android 5.0 Lollipop, Shadow cannot run on previous versions.
Officially Hardkernel (the company that produces Odroid) only offers support for Android 4.4. However, the community has created other more recent unofficial versions based on LineageOS. After a lot of testing the most recent version which supports graphics acceleration is 7.1, Android Nougat.
You can download the image at this address: https://raspberry-pi.fr/download/odroid/android-lineage-14.1-alpha-1.8-sd_installer-odroidxu3-2018-04-15.img.zip
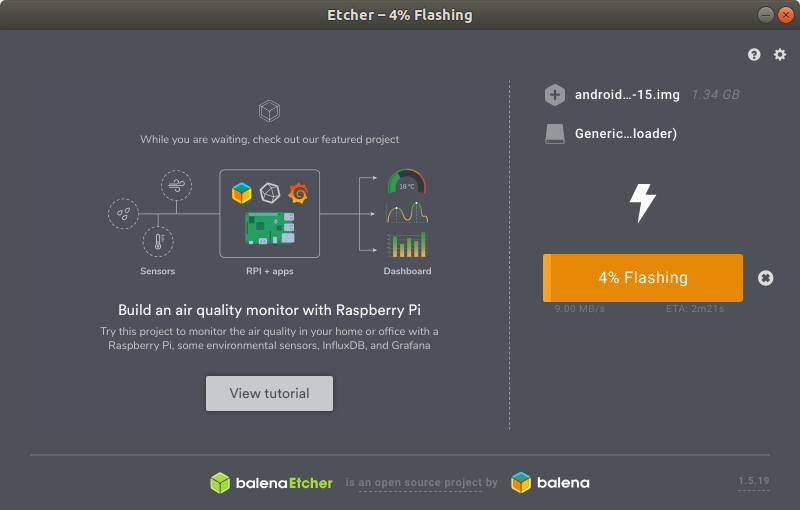
Once you've downloaded the image, we'll install it on the MicroSD card. For this, we will use the Etcher software that you can download here: https://www.balena.io/etcher/
We will now be able to flash the Android image on the MicroSD. To do this, follow the steps below:
- Once downloaded, launch Etcher
- Insert the MicroSD card into your computer's reader, Etcher should detect it automatically.
- Click the "Select Image" button and choose the Android image you just downloaded.
- Click on the "Finish" button
- Wait for the Flashing operation to finish, close Etcher and recover your MicroSD card.
First start of our Odroid
Now that we have prepared the SD card, we will be able to go to the first start of our Odroid machine.
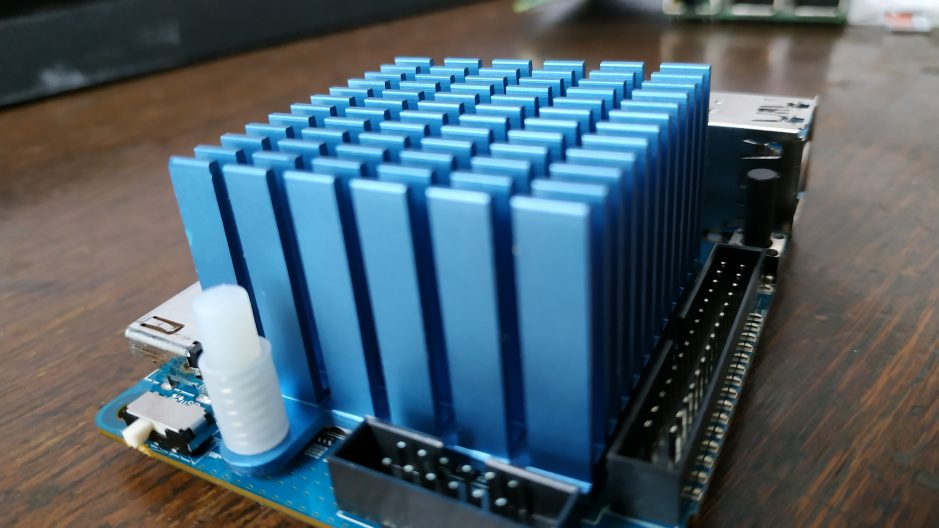
Unlike the Raspberry Pi, Odroid cards offer the use of an eMMC type memory module in addition to the classic SD card. To support these two types of storage Odroid uses a physical switch which can be positioned either on "eMMC", or on "µSD".
As we are using an SD card, set the switch to "µSD".
Once the SD mode has been selected, connect all the peripherals (keyboard, mouse, screen and ethernet cable), then connect the power supply.
A red LED and a blue LED will light up. The first start is relatively long because it will install the whole system. After a while you will come to the installation screen with the LineageOS logo on it.
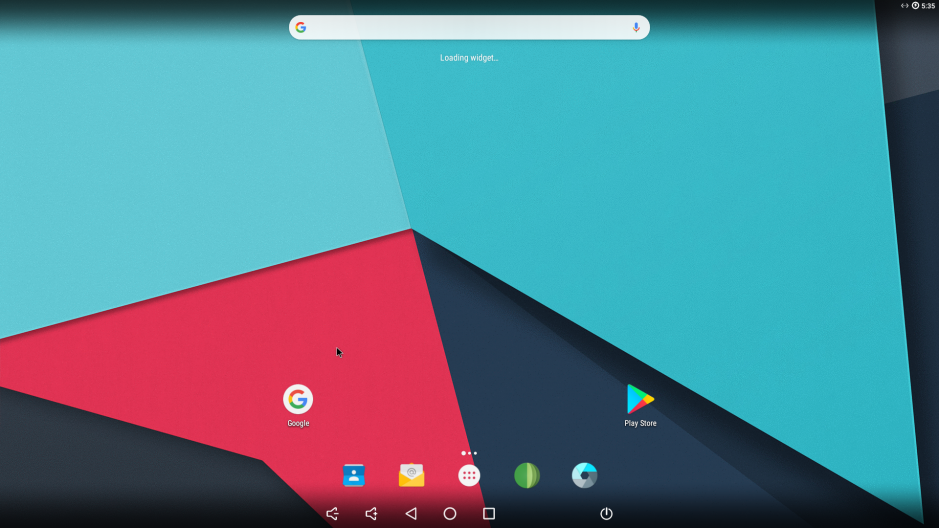
Continue the installation by clicking on the "Next" button at the bottom right, choose the language, configure the date, set the permissions relating to data collection according to your tastes. You will arrive on a page asking you to configure a PIN code, click on "Skip" at the bottom right. Click on "Start", and it's over!
You should arrive on the Android desktop, which looks something like this at first glance.
Update and configure Android
So we have installed Android 7.1 on our Odroid card, we are now going to configure and update it.
First thing to do, go to "Settings", "Languages & Input", "Physical keyboard", click on the language and select the language of your keyboard.
Next, we will configure the screen. To do this, launch the "Odroid Utility" application, go to the "SCREEN" section, and select the choice corresponding to the characteristics of your screen in the drop-down list (in my case I therefore chose 1080p60hz).
Finally, we will make sure that the system we are using is up to date. Launch the "Odroid Updater" application and click on the "Get the latest version" button, then on the "Download" button. *
Once the download is complete, click on "Validate File", then on "Extract".
Once the extraction is complete, click on "Restart for update".

The system will shut down and restart on its own. As with the first installation, it takes a little while, sometimes up to a few minutes. Wait until you find yourself in front of the start screen again.
* If the Hardkernell servers are not responding, you can manually enter the update file URL instead using this address: https://raspberry-pi.fr/download/odroid/update.zip
Install Shadow
Everything is ready, we just have to install Shadow!
For that, nothing could be simpler, launch the Google Play application, connect a google account, and install the Shadow application as you would for your phone!
Once the application is installed, launch it and enter your credentials.
You normally end up on a page like this.
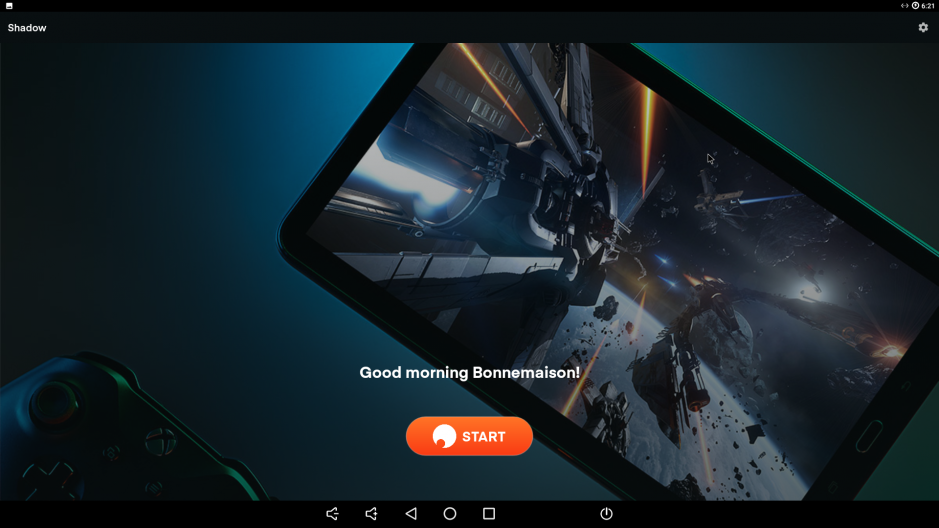
Click on the settings at the top right, set the bandwidth to maximum and disable the "pinch-to-zoom" option.
Go back, click on "Start", and there you have it, all you have to do is go back to do the top 1s on Fortnite, make your video edits, or explore the radioactive plains of Stalker!
The power of a gaming PC reaches out to you from a simple single-board computer!


