
How to create a music server on your Raspberry Pi 3 with Volumio
ⓘ Cet article peut avoir été partiellement ou totalement traduit à l'aide d'outils automatiques. Nous nous excusons des erreurs que cela pourrait engendrer.
Since the beginning of How to Raspberry Pi, we have always try to set up a perfect media center to watch the thousands of films and series, but we never think about audiophiles who would prefer to have a solution dedicated to the musical world .
Well we heard you, and we found a free and open source application, Volumio.
Volumio is based on the Raspbian distribution, the application allows to manage his music library on a single device, Raspberry Pi . Volumio is easy to use , it supports all types of files (mp3, FLAC, Alac, Aac, Vorbis, etc.), and even works with DAC expansion cards.
Finally, Volumio is always maintained with updates once a month, which shows the seriousness of the team behind this very nice product.
Install Volumio on his Raspberry Pi 3
Volumio is distributed as a Raspbian image, you will have to download the Volumio image from the website.
Once the image “volumio” uncompressed, flash your SD card as we have taught it ( here for Windows, or here for Linux / MacOS ). A microSD card like this will do the trick.
Volumio accept the Wi-Fi connection, so you do not have to worry about using an Ethernet cable.
During the first start of the Raspberry Pi 3, Volumio will proceed with the installation of the app, it may take a few minutes. If, like us, you chose Wi-Fi, Volumio will try to connect to a network, if none is available or accessible, Volumio will create his own hotspot named “Volumio” . You will have to log in with the password “volumio2” to access it. Then go to the web interface on the address volumio.local/ or typing the ip of the Raspberry Pi 3.
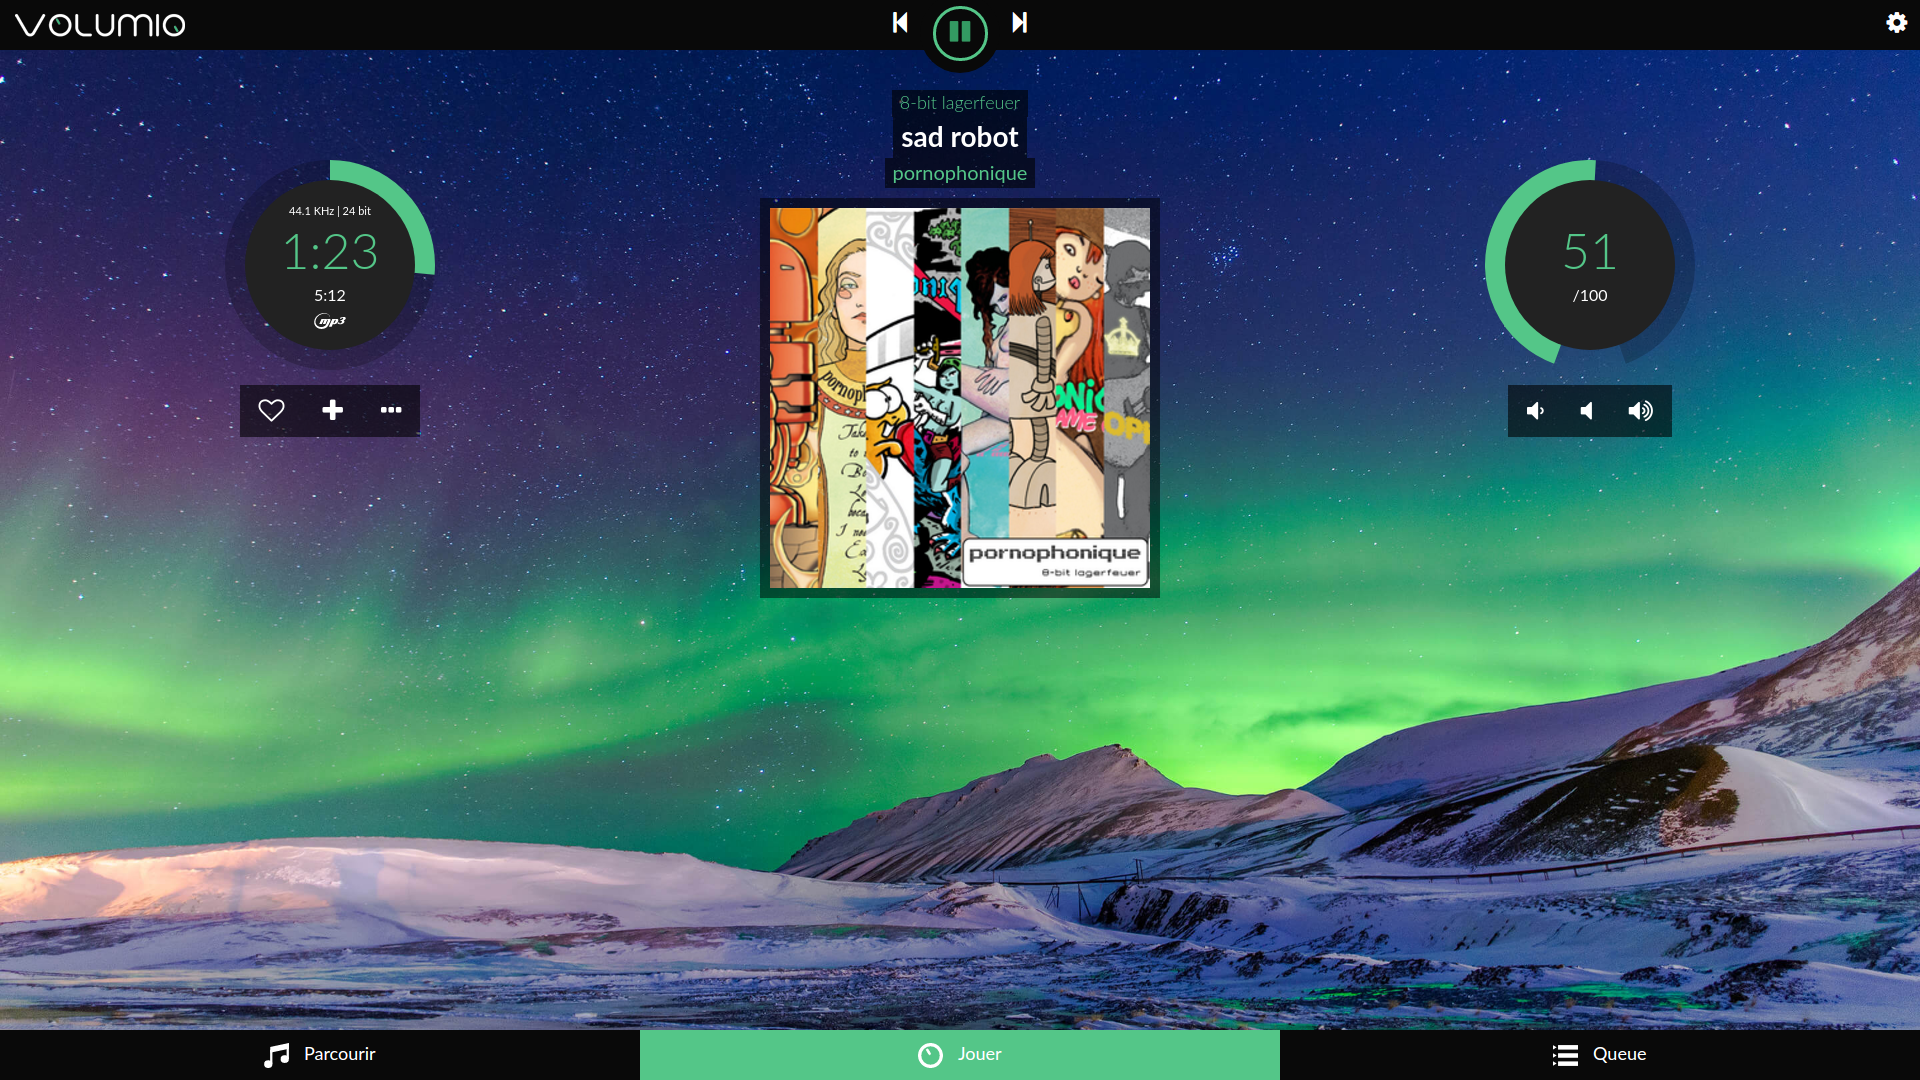
Welcome to Volumio!
Now, you can connect Volumio to your box , so simply go to the “Network” tab, then go to the “Wi-Fi network” section, choose your box and enter your code of security.
Build your library
Volumio is now ready to use on your Raspberry, you just have to add all your songs . Again, it’s relatively simple, we recommend you to switch an external hard drive like this. Put in all your tracks and album and plug the hard drive on the Raspberry Pi .
Go to “Browse” then “Music Library”, “USB”, your drive will appear here, but you can directly access its contents directly from the “Album” or “Artist” section.
It is also possible to use a NAS , for that go to the menu, section “My Music”.
Finally last possibility, you can added a plugin to play the titles of Spotify , yes sir! To get this plugin, go to the “Plugins” section. Once the plugin is found click on install. When the operation is finished, you will have to activate Spotify on your Raspberry .
Control your Pi from a distance
Also to perfect Volumio, it is compatible DLNA and AirPlay which makes it possible to broadcast audio streams from an iPhone . For Android phones, it’s a bit more complicated, at best you have to root your mobile and download the application AirAudio, you can use the app BubbleUPnP + Xposed that allows to manage Volumio from the phone .
Finally for audiophiles, volumio is a true HI-FI system , so you can add a DAC expansion card to your Raspberry Pi to gain in quality and sound comfort, we recommend this model at a correct price.


I’m planning to use Volumio on a RPi3B+. However, I would also like to use the same RPi to control a separate device (via USB). As I understand it, Volumio is based on Raspbian (or a special version of it). How can I add to Volumio a setup function that I can access via the Volumio in order to set up some static setting information to an attached USB device? I also shall be able to receive and display error information from this external device.
I’m looking for some hints on how to do this or actually how to specify this so I can get someone to develop this function.
Sorry thats seems like a question the Volumio community would be better able to answer than us.